
Reviewed · WORKSHOPS
Amsterdam Night Photography Workshop with a Professional
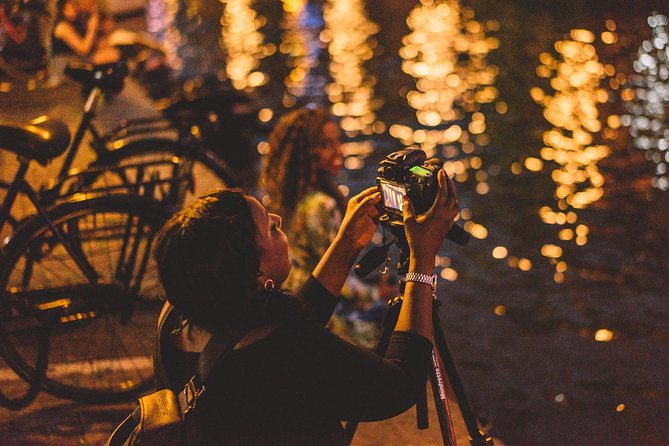
This is the kind of photo workshop that turns Amsterdam into a nighttime playground. You get professional guidance for night settings, plus a small-group pace that actually lets you get answers. One thing to plan for: it’s a night shoot, so you need to be okay with being out late and working with lower light and potentially changing weather.
I like that the focus is practical. You are not just walking around with a camera, you’re learning how and where to shoot after dark, including composition and long exposure basics. It also helps that the session centers on the Red Light District area, so you’ll work with real night lighting right where it counts.
A possible drawback is that the whole workshop depends on conditions. The experience requires good weather, and if it gets canceled you will need to choose another date or get a refund. Also, you have only about 90 minutes, so come with a willingness to experiment quickly.
Key Things You’ll Like Most
- A pro photographer as your coach, with real instruction time rather than just a walk
- Red Light District night lighting, great for long exposures and bold compositions
- Small group size up to 5 people, so you get personal attention
- Bring or borrow equipment, and you may even have a tripod available
- Focus on technique and placement, not just photo ops
- English instruction with flexible, beginner-friendly teaching
Amsterdam After Dark, Why This Workshop Feels Like a Shortcut to Better Photos
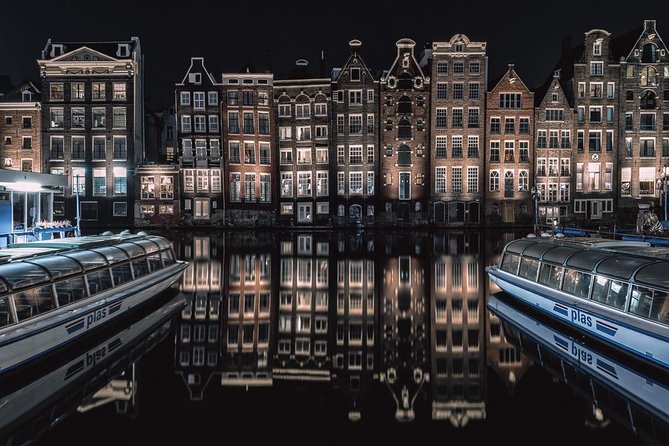
Night photography has a special pull. Everything looks more dramatic after dark, from canal-side reflections to street lighting that turns ordinary streets into glowing patterns. But the hard part is that your camera has to work in a much more demanding situation: dark scenes, bright highlights, and moving people and cars. That is where a professional makes a difference.
This workshop helps you do two things at once. First, you learn what to change on your camera for night results, like exposure choices and composition thinking. Second, you go to the kind of spots that actually give you material to practice on. In other words, you avoid the common beginner problem: taking a bunch of blurry, underexposed images and calling it night photography.
The session also has a strong practical feel because it is run like a teaching walk. The group is small, so you can ask questions and get feedback. In the best-case scenario, you leave with a couple of images you are genuinely proud of, plus a clear plan for how to recreate the look on your own trip.
More photo sessions in Amsterdam:
- Amsterdam: Private Photoshoot for Couple, Family, or Solo
★ 4.9 · 251 reviews - Amsterdam Canal, Tulip, Windmill Photoshoot | Custom Request
★ 5.0 · 147 reviews - Amsterdam: Foam Photography Museum Admission Ticket
★ 4.2 · 141 reviews
Where You Start at 9:30 pm, and Why Meeting Point Matters
You meet at Stationsplein, 1012 AB Amsterdam at 9:30 pm, and the workshop ends back at the same meeting point. That timing matters because Amsterdam changes fast at night. Earlier in the evening you have more ambient light; later on the city lighting becomes the main subject.
Stationsplein is a convenient anchor. It is near major public transport, so it is easier to get to on time than if you were starting deep in a quieter neighborhood. It also helps you reset fast if you are arriving from Amsterdam Centraal, since you can get there by train and then link up with your guide without stress.
Practical tip: if you are using transit, plan to arrive a little early so you can get your gear ready before you meet. Night photography is fussy. When the first chance at a great angle appears, you want your camera settings already thought through.
The Red Light District at Night: What You’ll Actually Shoot and Why It Works
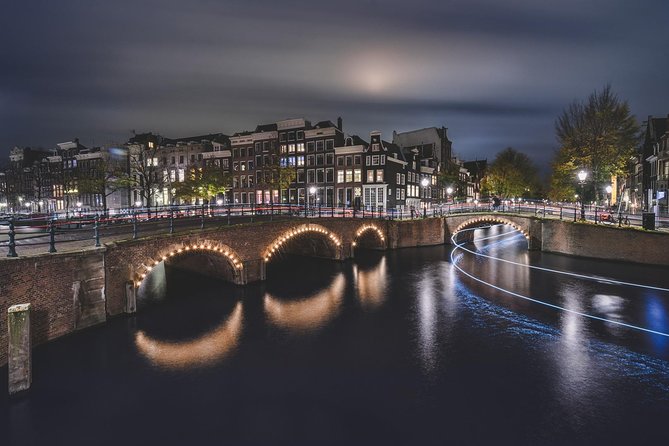
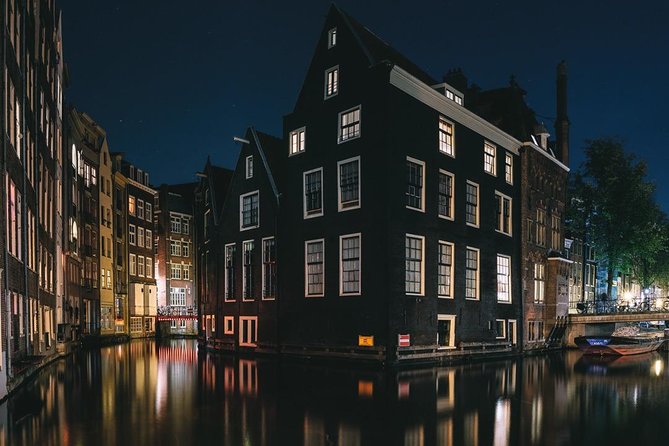
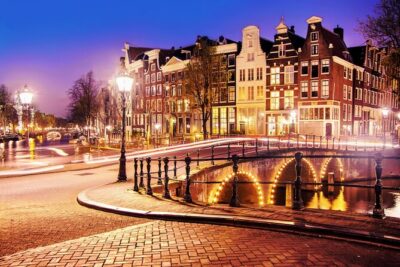
This workshop focuses on the Red Light District area, which is not everyone’s first choice for a photo session. But for night photography it is a smart setting, because the lighting is intense, colorful, and constant enough to learn with.
Here is why it works for photography practice:
- Mixed light sources create contrast. You can learn to handle bright points of light while keeping buildings, people, or reflections readable.
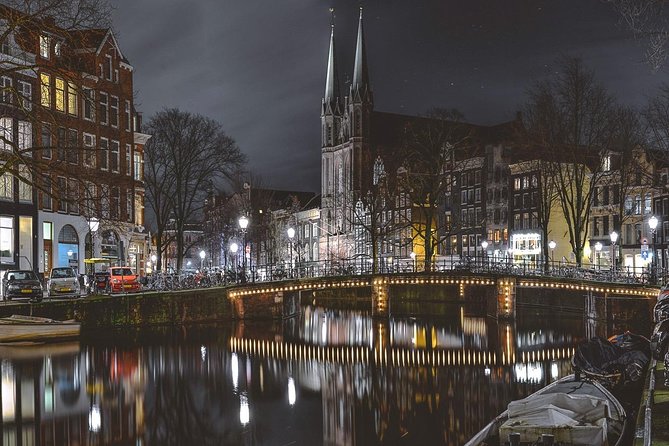
- Reflections and wet surfaces can turn small scenes into cinematic compositions. Even if you are not chasing a dramatic skyline, the light behavior is still useful.
- Geometry and lines are everywhere. You can work on framing, leading lines, and balance without needing a scenic view.
During the shoot, you will be guided to strong shooting positions and taught how to approach the scene. The goal is not to copy one exact photo. It is to understand what makes a night shot work so you can adapt it to whatever you see in front of you.
One consideration: the Red Light District is a real neighborhood. You should be ready to be mindful and respectful. From a photography standpoint, that means working efficiently, keeping personal boundaries, and avoiding anything that disrupts other people.
Pro Instruction in Manual Mode Style, Without the Pressure
A big part of the value here is how the instruction is paced for different skill levels. The workshop is set up to work for absolute beginners while still being useful for people who already understand their camera.
In a small group, you can get specific help, like how to adjust settings for longer exposures, how to think about sharpness at night, and how to build a composition instead of just pointing and firing. You also get practical coaching on equipment choices, like when a tripod is necessary and how to stabilize shots so you are not fighting motion blur.
From the teaching style described in recent experiences, the photographer is patient and gives clear composition tips. That matters because night photography can be technical, and it is easy to get frustrated when your first few frames do not look like the photos you planned to make.
Practical mindset to bring: treat the 90 minutes like a lesson plus a short field practice. You are trying things, seeing what changes, and getting feedback fast. If you wait for perfect conditions, you can miss the best light of the night.
More hands-on workshops in Amsterdam:
- Amsterdam: Traditional Dutch Syrup Waffle Making Workshop
★ 4.8 · 4,093 reviews - Amsterdam Traditional Dutch Syrup Waffle Making Workshop
★ 5.0 · 960 reviews - Amsterdam: Bols Cocktail Experience and Cocktail Workshop
★ 4.8 · 666 reviews - Amsterdam: 3-Course Meal in Historic 1st Class Waiting Rooms
★ 4.5 · 292 reviews
Gear: Bringing Your Own, Borrowing What You Need, and Tripod Reality
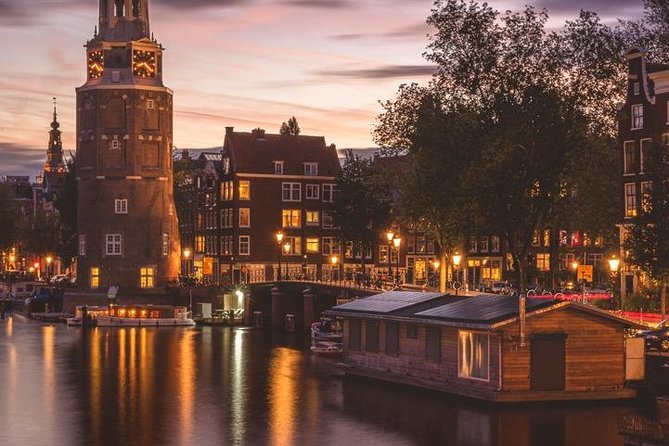
The workshop is designed so everyone can take part even if you do not own the right gear. You can bring or borrow equipment, and you might have access to a tripod depending on what you have and what the guide is carrying.
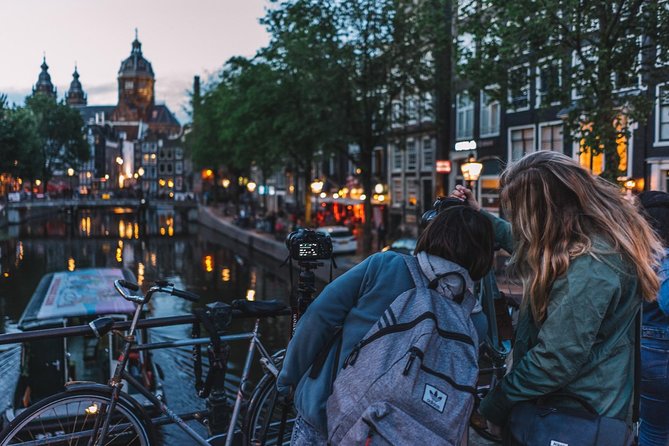
Tripods are often the make-or-break item for night photos. With long exposures, a tripod helps you keep the frame stable long enough to capture light trails, reflections, and smooth light effects. Handheld night shots can work too, but they tend to be harder to nail, especially if you want that classic long exposure look.
If you are borrowing equipment, be ready to move quickly. With limited gear, it is best if you can set up without overthinking. Also, if you do have your own tripod, bring it. You will know how it works, which helps when you are learning new exposure settings on the fly.
What to check before you leave your hotel:
- Your camera is able to shoot manually or with strong night controls
- You have charged batteries, since nighttime use can drain power faster than daytime shooting
- Your memory card has space for a burst of test shots
Small Group Benefits: Getting Answers Instead of Waiting Your Turn
The workshop caps at a maximum of 5 people, which is a big deal for instruction. In a group of that size, you are more likely to get hands-on feedback rather than general tips.
This is also where the relaxed tone becomes valuable. Several recent experiences highlight a friendly, easygoing atmosphere, with laughter and real conversation during the shoot. That social comfort matters because night photography can feel intimidating, especially if you are new to adjusting settings in the dark.
The guide’s background also helps. The workshop is run by Isee Amsterdam Photography Tours, and the instructor described here has extensive professional experience in photography and teaching. In practice, that usually means you get a teaching focus, not just a location list.
And one more practical benefit: small groups make it easier to adjust on the spot. If one angle is blocked or crowded, you can move without losing the entire session.
Timing and Weather: How to Not Let a Cloudy Night Ruin Your Plans
This experience requires good weather. If the workshop is canceled due to poor weather, you will be offered a different date or a full refund. That is the honest part of night photography: Amsterdam can be beautiful, but you cannot control rain, heavy wind, or fog.
So plan like a photographer. If you want to shoot at night, check the forecast earlier in the day and again close to departure. If there is uncertainty, keep your evening flexible enough to shift your schedule if needed.
Also, think about your own comfort. Night city walks mean you need layers. Bring clothing that you can move in while kneeling, standing, and adjusting gear. The Red Light District is not a silent studio set. You will be dealing with people around you, and being physically comfortable keeps your mind free for photography.
How to Make Your 90 Minutes Count (Even If You Are a First-Timer)
The workshop gives you structure, but you still have choices. If you want the best odds of getting photos you like, do this:
- Pick one goal for the night.
Long exposure with light trails? Dark, moody city glow? Reflections? If you choose one direction, your camera settings and framing decisions get faster.
- Bring questions that match what you are seeing.
When you see a bright light source, ask how to avoid blown highlights. When the frame looks soft, ask about stabilization and shutter timing.
- Take test shots quickly.
Night lighting can be deceptive. A quick test frame tells you whether the exposure is close before you commit to a more deliberate long exposure.
- Follow the composition guidance.
Several people specifically called out composition tips. That is the secret behind better night photos. You are building the shot, not just collecting data.
The biggest takeaway is that you do not need to become an expert in one hour and a half. You just need to learn enough to get real results, and then repeat the technique later.
Who This Workshop Suits Best
This is a strong fit if you want:
- A guided night shoot in Amsterdam with real coaching, not just a selfie-style walk
- Help learning how and where to shoot after dark
- A small-group experience that is friendly to beginners
It also works well if you already know your camera, because you can focus on improvements like composition, depth decisions, and equipment strategy. One of the nicest parts is that the teaching is aimed at multiple levels, so you should not feel talked down to or ignored.
If you are the kind of person who enjoys learning by doing, this workshop makes sense. You get feedback in the moment, which is faster than reading a manual after your trip.
Price and Value: Is $114.39 Reasonable for 90 Minutes?
At $114.39 per person for about 1 hour 30 minutes, the price is not cheap. But the value is easier to justify when you look at what you are buying: a professional instructor, a small group, and a night-location approach that saves you trial and error.
If you tried to do this alone, you would likely spend money on nothing but frustration: test photos, tripods you did not know how to use yet, and time wasted in spots that do not give strong nighttime material. Here, you trade uncertainty for targeted help. And if the guide provides or supports equipment like a tripod, that reduces your gear burden too.
It is also a practical purchase if you are only in Amsterdam for a short time. Ninety minutes is tight, so paying for focused instruction can beat spending the whole trip experimenting.
One booking detail to consider: this workshop is often booked around 31 days in advance. If you have fixed travel dates, it is smart to reserve earlier rather than hoping.
Should You Book It?
Yes, if you want a night photography session with real teaching and you plan to practice, not just observe. The strongest reasons to book are the small-group attention, the composition and technique coaching, and the fact that you shoot in a location with real night lighting challenges that teach you fast.
No, if you hate being outdoors at night or you need guaranteed sunshine conditions. The workshop requires good weather, and it runs late. Also, if you are expecting a long, multiple-stop tour with plenty of time to roam, note the short 90-minute duration.
If you do book, come ready to move, ask questions, and take fast test shots. That is how you turn a night in Amsterdam into photographs that actually look like night photography, not just darker daytime images.
FAQ
What time does the workshop start?
It starts at 9:30 pm.
Where do we meet for the Amsterdam night photography workshop?
You meet at Stationsplein, 1012 AB Amsterdam, Netherlands.
How long is the workshop?
It lasts about 1 hour 30 minutes.
Is the workshop offered in English?
Yes, it is offered in English.
Do I need to bring my own camera or tripod?
The experience says you can bring or borrow equipment, so you can participate even if you do not have the exact gear.
What happens if the weather is poor?
The experience requires good weather. If it is canceled due to poor weather, you will be offered a different date or a full refund.
Is free cancellation available?
Yes. You can cancel for a full refund up to 24 hours before the start time.
More Evening and Light-Festival Cruises
- Amsterdam: Evening Cruise with Optional Wine and Snacks
★ 4.4 · 19,696 reviews - Amsterdam Evening Canal Cruise with Live Guide and Onboard Bar
★ 4.5 · 3,619 reviews - Amsterdam: Evening Pizza Cruise Along the Canals
★ 4.5 · 2,389 reviews - Amsterdam: Cozy Evening Canal Cruise With Open Bar Option
★ 4.5 · 1,565 reviews
Recently reviewed around Amsterdam
- Amsterdam Highlights Canal Cruise with a Drink★ 5.0 · 66 reviews
- Private walking tour Amsterdam. English or Spanish.★ 5.0 · 21 reviews
- Guided Private Bar Tour in Amsterdam City Center★ 5.0 · 4 reviews
- Amsterdam Private Boat Trip With Skipper, Burger and Beers★ 5.0 · 5 reviews
- Private Arrival Transfer: Schiphol Airport Amsterdam★ 3.5 · 30 reviews
- Arrival Private Transfer Amsterdam Airport to Amsterdam City Center by Minibus★ 4.5 · 7 reviews
- 2-Hour Private Anne Frank Walking Tour with Drink★ 5.0 · 3 reviews
- Private Amsterdam WW2 walking tour★ 4.5 · 15 reviews
Workshops, compared.

Traditional Dutch Syrup Waffle Making Workshop
Read our review →Amsterdam Traditional Dutch Syrup Waffle Making Workshop
Read our review →
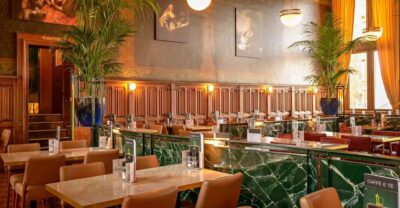
3-Course Meal in Historic 1st Class Waiting Rooms
Read our review →
Amsterdam Light Festival Winter Walk with Stroopwafel Workshop
Read our review →
Distilling Class @ Spirited Union Rum Co. (Amsterdam)
Read our review →
Cocktail workshop @ Spirited Union Rum Co. (Amsterdam)
Read our review →Browse the lists this tour appears in