
Reviewed · WORKSHOPS
Amsterdam Photography Masterclass – Private Photography Lesson
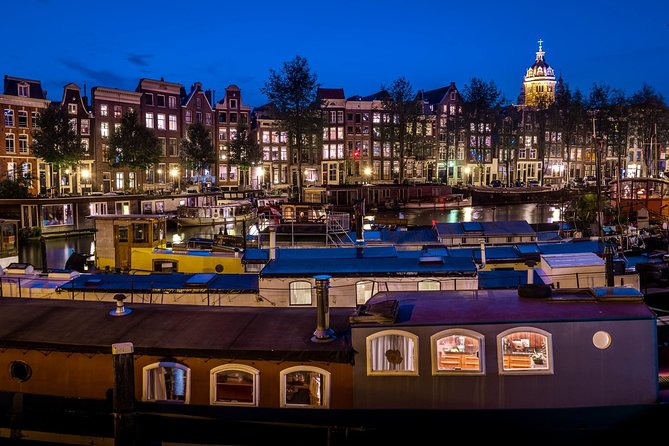
Amsterdam is great for photos because the city practically hands you subjects. You get canals that mirror the sky, brick-and-stone architecture, and those perfect little street angles that beg for framing. This private lesson turns all that eye candy into skills, with a professional photographer guiding where to stand, how to shoot, and how to think.
I especially love that it is private and capped at a small group size, so you get real coaching instead of generic tips. I also like that the route is built around Amsterdam classics, with short shooting stops so you can try ideas fast and get feedback on the spot. One thing to consider: you need to bring your own DSLR camera, and the class also notes that a tripod is only available on request.
Key Highlights You Can Actually Use
- Private coaching with a professional photographer, max 4 people per booking
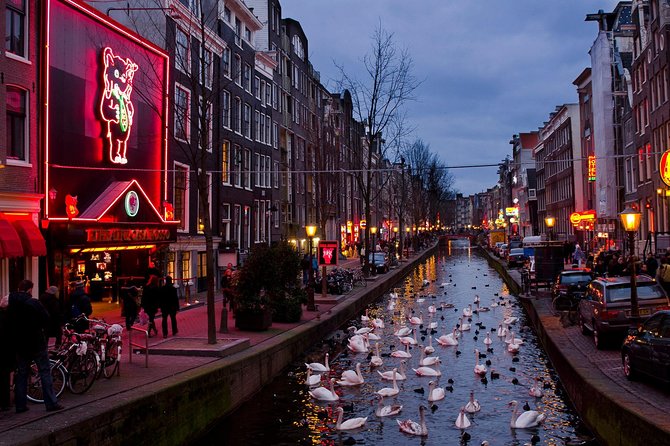
- Day or evening tour options, so you can practice for different lighting (and night shots)
- A focused route with nine photo stops, each around 20 minutes
- Coaching that goes beyond snapping, including camera settings pointers
- A handy mix of subjects, from a small statue to major landmarks like the Rijksmuseum
- Works in all weather, so you will shoot in real Amsterdam conditions
Why This Amsterdam Photo Lesson Feels Different Than A Walking Tour
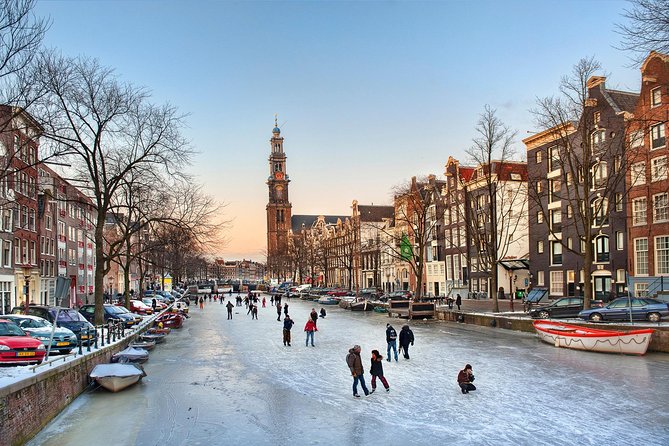
A standard city walk can be fun. A photo lesson is different because you leave with decisions you can repeat. Here you are not just visiting famous spots, you are learning how to see them. The photographer guide helps you set up shots, then you shoot right away and adjust based on feedback.
The itinerary is also smart. It is broken into short practice bursts. Each stop is about 20 minutes, which keeps you from getting stuck in one spot too long. You move, you try, you correct, you move again. That rhythm is great if you feel stuck with your camera at home, or if you own a DSLR but have not made it do what you want.
Also, the experience is private. With up to four people, the guide can tailor instruction to your camera and your style. In the past, instructors like Renzo and William have been praised for taking time to teach, including helping people get their first real success with night photography.
More photo sessions in Amsterdam:
- Amsterdam: Private Photoshoot for Couple, Family, or Solo
★ 4.9 · 251 reviews - Amsterdam Canal, Tulip, Windmill Photoshoot | Custom Request
★ 5.0 · 147 reviews - Amsterdam: Foam Photography Museum Admission Ticket
★ 4.2 · 141 reviews
Price And Value: What You Get For About $204.24 Per Person
At $204.24 per person for about 3 hours, the value is not in a long checklist of sights. It is in hands-on instruction in a city where good photos depend on timing, angles, and light.
Think about what is included:
- local guide plus professional photographer guide
- private tour for your group
- mobile ticket
- a route to major photo-worthy spots
And what matters for value:
- You are paying for coaching that can save you hours of trial and error later.
- You get structured stops rather than wandering and hoping for the best.
- You get advice for your specific camera, not just general inspiration.
This price can make sense if you are the type of traveler who wants to bring back proof, not just memories. If you only want scenic wandering and you already know your camera well, you might not need this level of instruction. But if you want to leave with repeatable skills, the cost is easier to justify.
The Route Starts At Leidsekade 97, And Ends Right Where You Began
The meeting point is Leidsekade 97, 1017 PN Amsterdam. The good news is that the tour is near public transportation, so you are not locked into one complicated arrival plan.
Expect the tour to return to the same meeting point. That is practical in Amsterdam, where canals and streets can turn even a confident walker into a confused one. If you are traveling with a group, this reset also makes it easier to plan the rest of your day.
Also note this runs in all weather. The lesson does not stop because it is windy or drizzly. You should dress like you are shooting, because you are. That means layers, something water resistant, and shoes you trust on uneven canal-side pavement.
Day Versus Evening: When Lighting Turns The Lesson Into A Skill
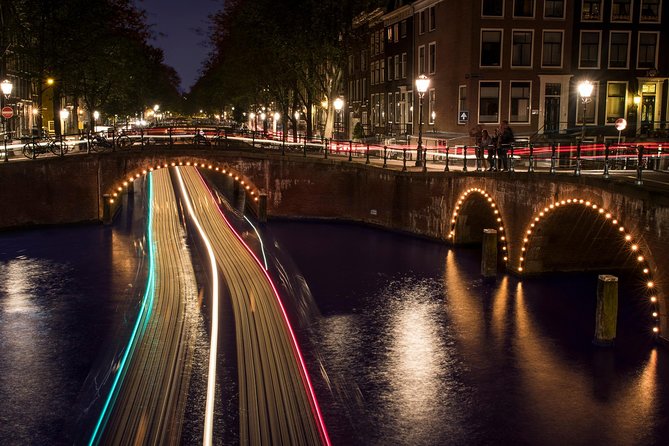
You can choose between daytime and evening tours. That choice matters because camera settings and composition change fast with light.
Daytime tends to be easier for learning basics like framing, getting sharp focus, and using natural light without fighting it. You can practice with the bright canal reflections and the clean lines around landmarks.
Evening is where the lesson can feel like a breakthrough, especially for night photos. In one praised experience, Renzo helped a participant understand how to shoot night photos and helped them finally get photos that worked. The takeaway for you is simple: if you struggle with darker scenes, the evening option can give you a guided path through the hardest part of photography.
More hands-on workshops in Amsterdam:
- Amsterdam: Traditional Dutch Syrup Waffle Making Workshop
★ 4.8 · 4,093 reviews - Amsterdam Traditional Dutch Syrup Waffle Making Workshop
★ 5.0 · 960 reviews - Amsterdam: Bols Cocktail Experience and Cocktail Workshop
★ 4.8 · 666 reviews - Amsterdam: 3-Course Meal in Historic 1st Class Waiting Rooms
★ 4.5 · 292 reviews
Stop-By-Stop: A Fast Practice Route Through Amsterdam’s Best Photo Scenes
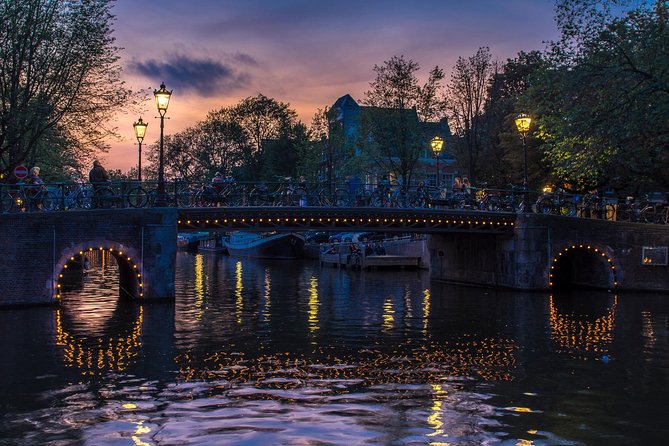
Each stop below is designed for shooting, feedback, and then moving on. You get about 20 minutes per location, plus the guide helps you aim for the kinds of shots you actually want, whether that is portraits, architecture, or water reflections.
Stop 1: Amsterdams Lieverdje Statue
You start with Amsterdams Lieverdje, a statue that is small enough to teach you something important: not every great photo needs a huge subject. You can learn how to position yourself, how to watch for distractions, and how to frame details without turning your image into visual noise.
This first stop is also a warm-up. You will likely get early coaching on how to hold the camera, how to compose, and how to make quick adjustments before you face the bigger city scenes.
Stop 2: Voetboogstraat And De Voetboogsteeg Area
Next is Voetboogstraat, with shooting time for Beijbhof de Voetboogsteeg. This area is all about perspective. Tight streets and courtyards are where leading lines show up naturally, and where small changes in your position make the image better.
A good guide here helps you slow down and look. You learn what to include, what to cut, and how to avoid ugly clutter in the edges of the frame.
Stop 3: Leidsegracht Bridges
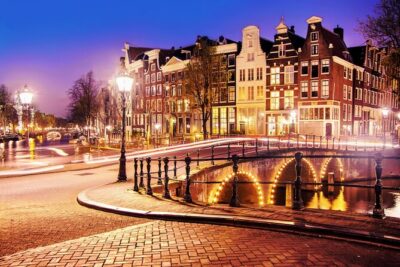
Then you go to Leidsegracht, focusing on the bridges along the canal. Bridges are photo magnets because they combine architecture with water and geometry. They also let you practice reflection shots, especially on calmer water.
Short stops like this work well because you can try one angle, then try another before the light shifts too far.
Stop 4: Rijksmuseum And Its Grounds
Now it is time for a major landmark: the Rijksmuseum and grounds. This is where photography becomes equal parts subject and strategy. Large buildings can be tricky because you cannot always capture everything in one frame.
You get coaching that helps you decide what to emphasize. Maybe it is the façade lines, maybe it is the surrounding space, maybe it is the way the building sits in the street and canal context.
One practical plus: Rijksmuseum grounds give you a chance to practice without constantly moving your feet across the entire city. That can help if you are still learning how to switch settings or framing quickly.
Stop 5: Magere Brug And The Amstel
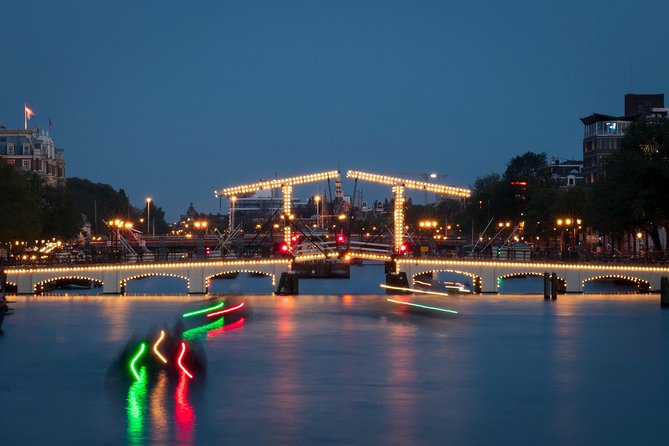
At Magere Brug, you shoot the Amstel and Magere Brug. This is a classic Amsterdam subject. The bridge is the focal point, but the real star in many photos is the water around it.
If you choose an evening tour, this kind of scene can also be a great place to practice night photography approaches, like handling darker areas and making sure key parts of the image stay sharp.
Stop 6: Nieuwe Kerk
Next: Nieuwe Kerk. Churches are not just “big buildings” in photos. They offer vertical lines, strong architectural shapes, and opportunities for dramatic angles.
This stop is useful for learning how to keep verticals from leaning over, and how to decide what part of the building to emphasize. A photographer guide can point out how to balance the shot so it feels intentional instead of accidental.
Stop 7: Blauwbrug
You will shoot Blauwbrug next. Bridges again, but with a different visual feel. This repeat topic is a learning trick. You can compare compositions across similar subjects and start to understand what makes one shot feel stronger.
If you feel yourself getting “bridge fatigue,” treat this as your chance to push one style further. Try a closer frame, a wider angle, or a composition that favors reflections.
Stop 8: Nieuwmarkt
Then comes Nieuwmarkt. This is where the lesson shifts from canals and iconic buildings toward a more urban street feel. Nieuwmarkt gives you variety in shapes, textures, and crowd energy depending on the time of day.
This stop is good for people who want more than postcard photos. It pushes you to practice how to include context without letting the image become chaotic.
Stop 9: Huis Bartolotti (Museumhuis Bartolotti)
The last stop is Huis Bartolotti, also called Museumhuis Bartolotti. This is a strong closing scene because it rewards careful looking. Smaller, more detailed buildings help you practice composition and focus on the kind of texture and character that makes Amsterdam feel real.
By the end of the tour, you are usually more relaxed about shooting. You know the rhythm now: choose an angle, shoot, adjust, and move on.
What You Learn: Camera Settings Plus The Thinking Behind The Shot
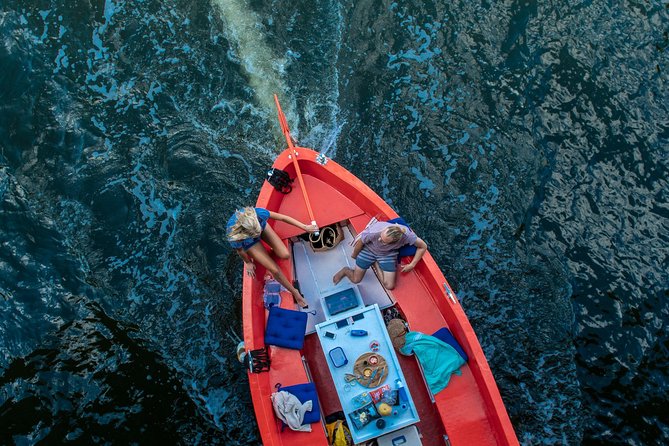
The tour highlights learning the basics of photography from a professional photographer. In plain terms, that means you should come away with a clearer relationship between:
- the light you see
- the settings you choose
- the result on your camera
The reviews point to one key benefit again and again: specific coaching. One participant credited Renzo with helping them learn how to shoot night photos after they had not been successful before. Another experience with William emphasized that the guide tailored the tour to the type of pictures the person wanted, then gave pointers on camera settings so they could get great shots quickly.
So expect instruction to cover practical things, not just theory. You will likely work on how to adjust your camera for bright daytime scenes versus darker evening scenes, and how to get photos you can be proud of without spending the rest of the trip scratching your head.
Small Group Size Means Real Feedback, Not Just A Camera Lecture
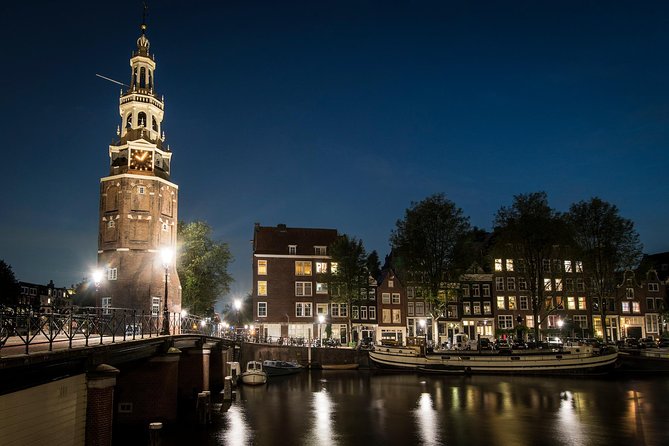
With a maximum of four people per booking, you get the kind of attention you usually only get in a real lesson. That is important because photography is personal. Two people can see the same subject and want totally different outcomes.
The guide can tailor the route and coaching to your preferences. If you want night shots, you will get focused help for that. If you want architectural images, you can emphasize building lines and placement. That customization is one of the biggest reasons this class earns a top rating.
What To Bring (And What Might Surprise You)
You bring:
- your own DSLR camera
The tour notes that:
- tripod available upon request
- camera not included
So if you want stability for low light or long exposures, plan ahead. If you only have a handheld setup, you can still shoot, but you should be ready for the guide to help you work within your limits.
Also bring:
- appropriate clothing since the experience runs in all weather
- comfortable shoes for frequent short walks and canal-side paths
If you tend to get stressed when meeting points feel confusing, take a breath. One review described a mix-up at the wrong meeting place, and Renzo was easy to reach and connected promptly. Still, it is smart to double check you are at Leidsekade 97.
Who This Amsterdam Photography Masterclass Suits Best
This is a great fit if:
- you want a private lesson with hands-on direction
- you own a DSLR but want to understand settings and how to use them
- you want to photograph Amsterdam landmarks and canals without guessing
- you are going in daytime or evening and want coaching that matches the light
It is also ideal if you like structured practice. Nine focused stops keep you moving and learning instead of drifting.
You might skip it if:
- you are already fully confident with your DSLR and want to spend your time freely wandering
- you are hoping the tour includes the camera or a tripod by default
Quick Practical Tips Before You Go
- Choose your tour time based on your biggest photography goal. If night photography is your weak spot, pick the evening option.
- Bring a camera you know how to power on quickly. You want to spend time shooting, not troubleshooting.
- Wear layers. Amsterdam weather can change fast, and you will be outside for the whole lesson.
- If you can, request a tripod ahead of time so you are ready for low-light shots.
Should You Book This Private Amsterdam Photography Masterclass?
Book it if you want to turn Amsterdam’s photo opportunities into real skills. The strongest reasons to choose it are the small private group, the professional photography instruction, and the way the tour supports both daylight and night shooting.
If you have ever taken a bunch of photos and thought, I cannot tell what I did wrong, this is the kind of class that can help you fix that fast. And if you want landmarks like the Rijksmuseum and iconic bridges but with a method, not just sightseeing, this route gives you a clean plan and coaching at every step.
If that sounds like your style, you are going to have a good time, and your camera will come away smarter.
FAQ
How long is the Amsterdam Photography Masterclass?
It lasts about 3 hours.
What does it cost per person?
The price is $204.24 per person.
Is this a private tour, and how many people can join?
It is a private tour/activity, with a maximum of 4 people per booking, so it is only for your group.
What language is the lesson taught in?
The tour is offered in English.
What is the meeting point, and where does the tour end?
The meeting point is Leidsekade 97, 1017 PN Amsterdam, Netherlands, and the tour ends back at the same meeting point.
Do I need to bring my own camera?
Yes. You are asked to bring your own DSLR camera. A camera is not included.
Is a tripod provided?
A tripod is not included, but it is available upon request.
Are tickets or entry fees included for the stops?
The itinerary lists free admission at the stops.
Is the tour held in bad weather?
Yes, it operates in all weather conditions, so dress appropriately.
Recently reviewed around Amsterdam
- Amsterdam Highlights Canal Cruise with a Drink★ 5.0 · 66 reviews
- Private walking tour Amsterdam. English or Spanish.★ 5.0 · 21 reviews
- Guided Private Bar Tour in Amsterdam City Center★ 5.0 · 4 reviews
- Amsterdam Private Boat Trip With Skipper, Burger and Beers★ 5.0 · 5 reviews
- Arrival Private Transfer Amsterdam Airport to Amsterdam City Center by Minibus★ 4.5 · 7 reviews
- Private Arrival Transfer: Schiphol Airport Amsterdam★ 3.5 · 30 reviews
- The Ultimate Zaanse-Schans Private Day Trip★ 5.0 · 44 reviews
- 2-Hour Private Anne Frank Walking Tour with Drink★ 5.0 · 3 reviews
Workshops, compared.
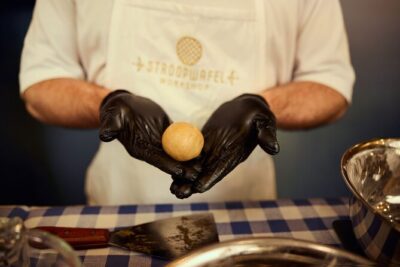
Traditional Dutch Syrup Waffle Making Workshop
Read our review →Amsterdam Traditional Dutch Syrup Waffle Making Workshop
Read our review →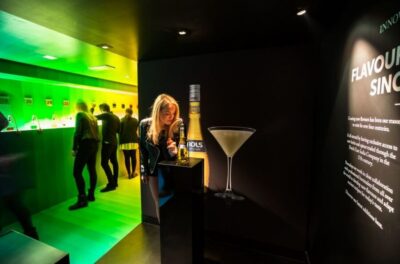
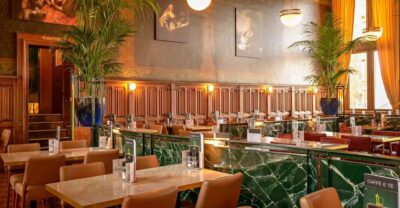
3-Course Meal in Historic 1st Class Waiting Rooms
Read our review →
Amsterdam Light Festival Winter Walk with Stroopwafel Workshop
Read our review →
Distilling Class @ Spirited Union Rum Co. (Amsterdam)
Read our review →
Cocktail workshop @ Spirited Union Rum Co. (Amsterdam)
Read our review →Browse the lists this tour appears in